How I design a course
Hi! Recruiting and interviewing skills is one of the courses I'm proudest of, from the first outline to launch on the LMS. Here's how I got from an idea to a finished eLearning course.
- Audience
- Regional managers
- Format
- Blended learning
- Tools
- Articulate Storyline 360, Adobe Illustrator, PowerPoint
The course
The course gives regional managers the basics of recruiting and interviewing, so they hire the right person for the right job and fewer new hires quit. Managers take it online before an in-person practice class.
Managers needed to hire better and keep the people they hired. Hiring outcomes depend on many things: the work environment, knowledge, skills, motivation. Training can address gaps in knowledge and skills, so that's where I focused.
My part
- Wrote the course outline and content (instructional design, storyboard).
- Built the course and designed its visuals (eLearning development, visual design).
The process
Designing a course is iterative. Mine went through several rounds of feedback from my senior and manager until the internal knowledge in it was accurate. It took 5 steps.
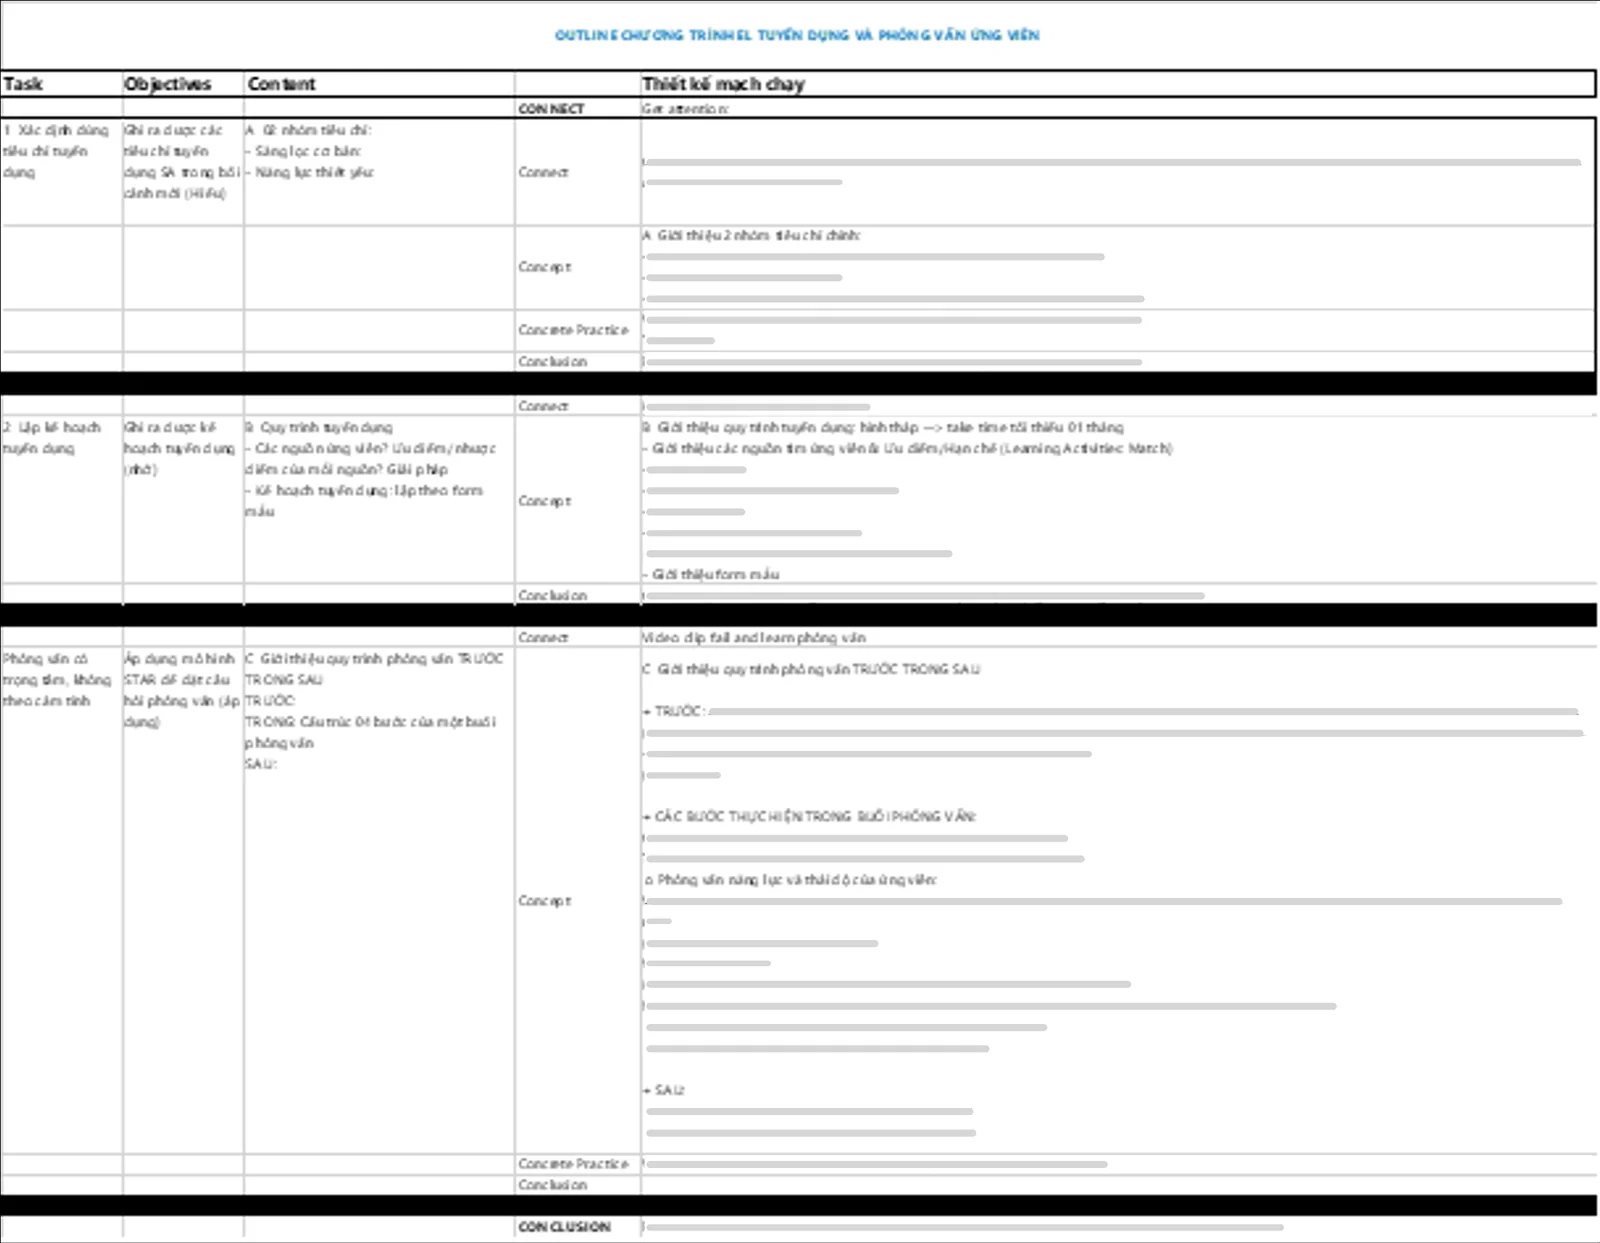
Outline
The outline sets the flow: how modules are structured and ordered, and which content goes in, all tied to the original goal. It took me the longest because it went through the most feedback rounds. The course had to fit the specifics of the business, so every detail had to be accurate. A good outline saves you from tearing things down and rebuilding later.
Models: Rapid Prototyping, Bloom's Taxonomy, ABCD Learning Objectives
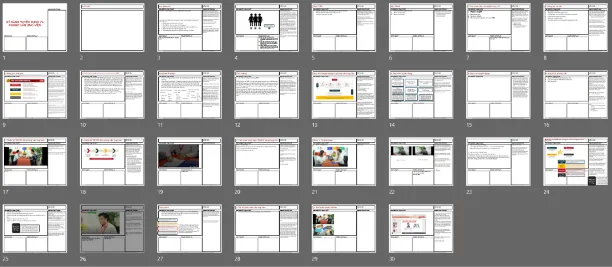
Storyboard
Scene by scene. From the approved outline, I detailed every screen: on-screen content, voiceover, interactions. The storyboard lets both the instructional designer and the visual designer see what each screen will show, whether text, images, video, or sound.
Rapid prototype
The old process had no prototype. After the storyboard, we waited for the visual designer to finish the full design before testing with a small group of learners. Visual design usually takes about 30% of total production time. So the visual designer built a plain version with every function working, we tested it and gathered feedback, and only then moved on to the polished design.
Models: Rapid Prototyping
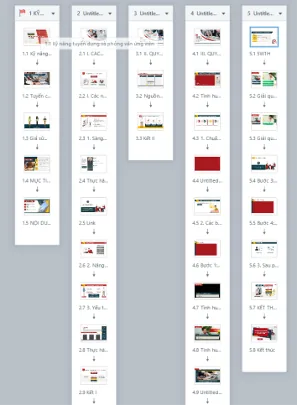
Development
Articulate Storyline 360 is my main eLearning tool, with Adobe Illustrator and PowerPoint for visuals. Storyline lets learners practice what they just learned through interactions, and it records their answers so I can assess them and improve the content later.
Models: Mayer's Principles for eLearning
QC and launch
Several rounds of testing on the LMS to catch technical errors. Then the course went live, and we measured results and collected learner feedback to improve the content.
How it landed
Regional managers responded well. Most feedback said the course was short, easy to understand, and practical.
What I learned
This was the first project where I used the new process. It showed me the whole design cycle end to end: building and refining the learning experience from the outline, and solving real performance problems on the job.
Most of all, I learned how much the outline matters. It keeps me focused on the content that best solves the problem training can solve.